Thursday 29 March 2012

College/Maxi skirt

In college, a few weeks ago we patterned and manufactured a maxi skirt.
The skirt had to have extra flare, an invisible zip, a waistband and must be cut on the bias.
Here are my steps on what I did and how I did it. 

Step one:

We traced around a basic skirt block, marking all the notches and darts.
We extended the skirt as it only came above the knee and made it floor-length by measuring from our waists to the floor and then placed this measurement on the pattern starting from the waist.

PICTURE OF FIRST DRAFT WITH EXTENSION. 

Step Two:

We again traced over the first draft pattern and we marked in the darts. 
We then, from the start of the dart point, drew a vertical line downwards to the hem and then slashed up theses lines. (On the back there were 2 darts so we did this twice, on the front there was only one dart so I placed a vertical line from the point of that dart and we divided the space in between by two sections and drew a vertical line.) Seen below.

PICTURE OF FRONT PIECE WITH LINES BEFOR WE SLAHSED OPEN. 


Step Three:

We then closed the darts and held together with masking tape. This automatically opened the patterns to create extra flare. This made the hem of the skirt circular.

PICTURE OF SLASHED OPEN SKIRT PATTERN WITH CIRCULAR HEM LINE DRAWN ON IT.

Step Four:

This was traced off to create our final skirt pattern. Both front and back were cut on the fold and instead of putting a straight grain-line we got out set square and placed it on a 45 degree angle and marked off the bias grain-line. I then added a 1.5cm seam allowance around the patterns apart from CF and CB.

PICTURE OF FINAL PATTERNS SHOWING BIAS GRAIN LINE

Waistband:
We cut out the 1 waistband piece on the straight grain line which was taken from the measurement of our waist on our patterns, we also added 4cm on the length of this for a button stand. We also cut out the interfacing from this too leaving 1.5cm seam allowance around the whole piece to finish.

PITCURE OF WASITBAND PATTERN.

Manufacturing

Step Five:

This pattern was then finally finished, so we chose our fabric (preferably cotton as it wasn't as difficult to sew on the bias) and placed our pieces on for the lay-plan.  
We folded the fabric at a 45 degree angle so the fabric looked like a triangle and we placed our pattern pieces on the fold, pinned and cut out. 

Step Six:

We then started the manufacturing process.
Firstly, we ironed out any unnecessary creases and overlocked the side seams. I then inserted an invisible zip into the side seam. We then stitched up the side seam from the hem to the bottom of the zip.


Step seven:

I then attached the opposite side of the skirt by stitching a 1.5 SA and overlocking to create a closed seam.
Note: I pinned the sides together to help with this process because when sewing pieces cut on the bias a lot of movement happens so pins help a lot!


Step Eight:

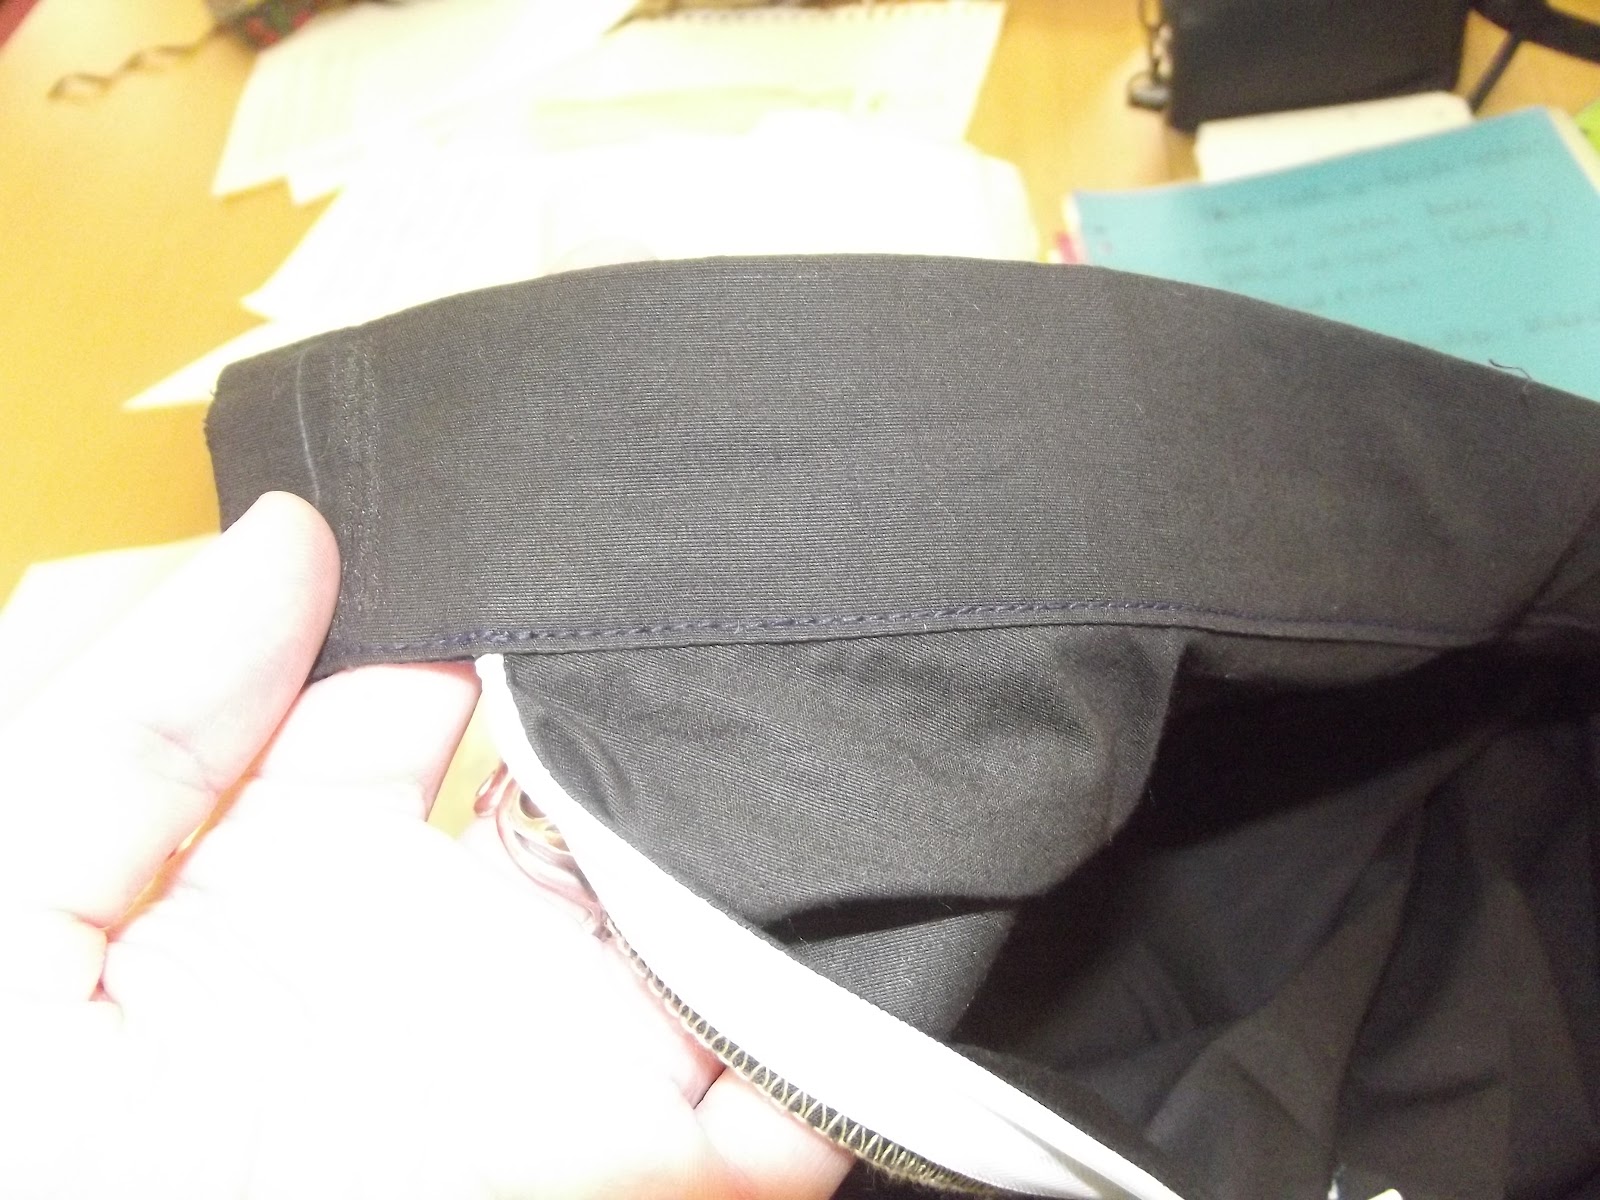
For the waistband we ironed on the interfacing to the waistband fabric piece.
I ironed the waistband in half to half the width and then turned up one side 1.5cm. I then stitched the ends of the waistband with a 1.5cm SA and bagged the waistband out. 

We pinned the right side of the fabric to the wrong side of the skirt and stitched on the waistband with 1.5cm seam allowance. 
The waistband was then ironed in half and we then topstitched the waistband to the skirt waist making sure there was a few centimetres left over for the button hole. 


Step nine:

We hemmed the circular hem by overlocking and then folding the 0.5cm hem twice. 
We then ironed this in place and topstitched close to the edge.


Step ten:

We created a button hole stitch in the 4cm section of the waistband with a domestic sewing machine and then sewed on the button on the other side.


AU REVOIR!

Hanna-Lou

xxx

Wednesday 28 March 2012

Visionary designer/Hussein Chalayan

A few of you wonderful fashion followers may know of this genius designer but those of you who don't I have wrote a little (A LOT) piece on Hussein Chalayan and his links to the movement of fashion technology.

I have researched this designer in more depths for my new college brief which is based on finding out the messages and concepts of a designers collections. This is what I wrote about Mr. Chalayan and his involvement in the industry.

So take a read if you fancy!


Chalayan has been involved with the rapid movement of technology incorporated within fashion design. Working in the fashion industry for over 15 years Chalayan has always bought something interesting to the catwalk that shocks and astounds audiences.

In the 2000 collection of ‘Afterword’s’ the collection explores the concept of ‘wearable, portable architecture’. This unusual perception shows us that Chalayan uses personal perspective of his interpretation if how he visions fashion. This creative attitude has inspired many other designers to follow in his footsteps and investigate the complexity of fashion technology and how far advanced this viewpoint will affect not only the target market (which is avant-garde) but will further inspire everyday life.

The backdrop was a fresh, clear white space arranged like a sitting room occupied with four chairs, a wooden table, a television screen and several pots and vases. These were not only props to enhance his collection but these ‘props’ were involved with the clothing which was such an original way of showing his collection. Not only was this any ordinary collection but also it was shown to be presented on stage, almost like a performance instead of a fashion catwalk.
His innovative use of pattern cutting and the imaginative use of materials illustrates the inventive and capturing aspect that amazed the fashion world today.

These skills express Chalayan’s 2000 ‘Afterword’s’ A/W collection perfectly demonstrating the use of transportable fashion and how he was inspired by evacuating with very little belongings in a short space of time.
For example, the ingenious cut of the seat covers are transformed into a dress on the model, which expresses a multi purpose use out of one element.
There displays a lot of thought, which went into the design process, and manufacturing of just one collection that he consistently expresses throughout his career.

The colours that were used expressed A/W such as the greys and blues but what shone through were the pastel hues used which would typically originate in the summer collections but instead Chalayan used these to brighten his collection of A/W 2000. There was one colour used that captured the collection the greatest and it was a deep orange/almost red. This colour was in a block garment and also has areas in the garments with the rest grey. This colour I believe symbolizes passion and confidence but due to the real influence of this collection it could also have meant departure and dis-attachment and the reason why he recreated portable belongings. The former of the concept was inspired by the news from Kosovo about people fleeing their houses in a rush during the war, but also by his own experiences as a Turkish Cypriot living abroad; the latter was a reference to the culture of sun worship and the cult of celebrity. This expresses the use if red and orange used with the sun worship idea and Chalayan boldly incorporated this color in with the dull shades.


Here are a few images from the 'Afterword' collection:


What do you think?


Lots of love!

Hanna-lou
xxx

Friday 23 March 2012

College/Pannelled dress

Hello!
I shall be writing a few posts about college for the next few days and I will try and put my images up as my laptop has decided to go all weird on me...

ANYWAY, here are the steps so far on my pannelled dress pattern.

I think this project we are doing now in pattern cutting is by far my favourite because I LOVE dresses!
This is a pannelled dress where panels are put in for a design feature on the dress.

We got the freedom to choose our own adaption of the dress with the neckline, length and panels.
I have fallen for the sportswear luxe trend this season and how the 'scuba' neckline has taken Britain by storm throughout all high street shops, street style, bloggers and of course the catwalk.

I have decided to replicate this neckline (which I have found quite hard to create on the pattern!) but will most probably make another example but as a crop top.


Step one:

I traced around the dress block, marking in the notches and design lines.

Step two:

From the original dress pattern I got rid of the shoulder dart and took it off the end shoulder so the dart was no longer there but there was still the right measurements.

Step Three:

I adapted the back piece by drawing on a racer back design line by deepening the back.

Step Four:

I then created 2 panels by drawing on my design line going through the back dart (see below).


Step Five:

To complete this I then traced both panels off by adding seam allowances of 1.5cm and notches.

Step Six:

With the front piece I adapted the neckline by creating a new curved line that I slashed and then closed the original front dart.


Step Seven:

I then traced around these 2 panel pieces with 1.5cm seam allowance apart from the CB piecesand cut out.


Step Eight:

I then traced around the neckline and armhole by turning the pattern pieces opposite each other and masking taped them down.


Step Nine:

Facings:


See above the drawings I made on the patterns for the facings.

I then had to measure 3cm width and cut this pattern piece out ready for the facing and interfacing.


These facings will be put in the neckline and armhole to neaten edges.

And that is how I created my pattern.

Manufacturing 


1. I started by sewing all my front panels together with a 1.5cm SA. I then sewed all the back panels together making sure I lined my notches up to help with curves. below is an image of the 3 back panels stitched together. 


This is the front where I decided to insert a chunky zip. 


2. To insert the zip into the CF I had to overlock these edges. This is an open end zip which had to look perfect as it was showing on the front of the dress. With the open end zip I unzipped the whole zip so I could sew both sides separately. I tacked the zip in and then sewed all the way to the bottom NEATLY! As I used orange sewing thread the stitching had to be very straight as it can be seen on the edge of the fabric. As seen above.


Facings
3. I then sewed the neck facing on by overlocking the outer edges of the facing and then pinned the facing to the neck line right sides together. I used a 1.5cm SA and reduced the bulk. I then flipped the facing over and stitched a retainer row on the facing to hold in place. (This is seen in picture above with orange stitching.) 


4. I hemmed my dress by turning up the overlocked hem and then turned it up again this time 1.5cm and then sewed across it. I have since found out that my stitch line for the hem is NOT correct and it should have been stitched higher up closer to the fold line.


What do you think??


Lots of love!

Tuesday 20 March 2012

Update/ Sketchbook

For college our brief is based on design development and I will post images of my sketchbook to show how i have developed my designs.

I haven't updated in a while because my laptop has seriously crashed!

For my final garment I have researched into Egyptain culture and the mexican celebration The Day of the Dead which both have interesting aspects. Egyptainology has influenced me with the the heiroglpyhs and symbols which hold mystery and intricate shapes. With the day of the dead, the colours are very vibrant which is ironic when they are celebrating death. The shapes and patterns are also very fussy ad ornate which I fell in love and I was also inspired by the skeleton and bone structure.

Here are a few images that I am inspired by:

Wednesday 14 March 2012

Gone with the wind

Hello there darlings!
Haven't been posting regulary recently as I have had ALOT of work going ownnnn.
BUT, hopefully shall be posting a bit more after this week WITH DIYS and outfits!

Lots of love,

Friday 9 March 2012

Music/Sky Ferreira

I found out about Sky Ferreira about a year or so ago and fell in love with not only her music but her wonderful voice.
This girl can create such amazing tunes using sad lyrics combined with dancy pop tunes.
This is the type of music that will stick in your mind you for a week and you cannot help but love the catchy tune!
If you watch Vampire Diaries then you would have briefly heard her song 'Obsession' which featured on Season 2 Episode 5 where Jeremy and Tyler have a mini party with two girls where one of them falls down the stairs!
Don't remember? Check here to refresh your memory...
I just had to share this with you, she NEEDS to be more well known!
I have a feeling she will take the UK by storm when people hear her music.


Also, she has incredible grunge style and if you know me well enough Sky is a girl after my own heart!


Take a listen:


Check out more of her music on her youtube channel.

Lots of love!


Tuesday 6 March 2012

Inspiration/ The twins


If you can't tell I am IN LOVE with these gals!
Their make-up, their hair, their clothing...The list goes on.
THIS is how I want  my hair sooo bad, wavy and blonde. I am considering dying all my hair blonde, what do you think?
These twins can do bohemian chic to grunge mayhem and still look so effortlessly stylish. It's no wonder they have their own label The Row with a line of beautiful leather satchels, bespoke tailoring and the essential classics of the everyday wardrobe.
Oh, I daydream about owning every wonderful piece from the label, If only I became rich with a house made out of gold. I would sell that house for those spectacular pieces!

Now girls put your hands up if you want this bag!
Then...............Look at the price.
*cries*
Shoulder Bag Lizard

Should I tease you more with clothing this time?!

Yetrull Dress

Ahhhhhhh, screams I hear!

Black Leather Oversized
One last piece?

Flinly Skirt

Right, I sware this will be the last.

Varston Top

OK, I cannot help myself!

AND I have left the website now before I do something daft like rob a bank and buy the whole fall collection.
These basic pieces have such beautiful tailoring that make them the modern day classic today and I can guarantee you would not find a garment as wonderfully put together like these.

So that DOES mean you primark. Don't dare try to copy these beauties for a knock-off!

I shall leave you on that high note where barely any of us can afford a stitch of cotton from that midi dress or the leather strap buckle off the satchel bag but we DO still have our creative minds and of course D.I.Y's which I haven't done in awhile because of college work. BUT shall get on that wagon as soon as I have finished this brief or might sneak a few cheeky D.I.Y's in before...
And if your reading this Nic don't worry, I shall be on it like a car bonnet with my work!

Lots of love!